Run Windows 10 from USB-C / T3 SSD, on modern Macs
If you need to run Windows on Mac, if BootCamp or VMs are not an option, this is the post for you. With some 3rd party tools and access to someone’s Windows PC, you can do this fairly easily.
In the last few years or so, I did not need to run Windows in my VMWare. I even forgot I have that Windows 10 installation. I simply did not have time to play any games nor did I need it for anything else, not even for work stuff (the primary reason to even have that VM on hand).
This changed recently with release of Age of Empires II: Definitive Edition, with all the gorgeous glory of 4K graphics. This is my favorite game of all time, bar none. 4K graphics meant that running this inside VM is out of the question thus I was looking for a way to run it natively on my Macbook Pro 2016. ❖
My MBP has 1 TB SSD and I generally have about 200÷300 GBs free. I like to keep it that way so installing partition for BootCamp was ruled out. This left me to look for a way to run Windows from an external disk.
First of all, you need a very fast SSD and it needs to be connected to your machine over the fastest possible port. On today’s Macs that means over USB-C 3.1 Gen.2 or even better Thunderbolt 3.
You really don’t want your OS to run from some slow connection, that will be nothing but pain and annoyance. Thus see if you can buy some fast external SSD or this is really not worth it.
Hardware
My choice was ADATA XPG 8200 Pro 1TB NVMe SSD. In ideal conditions, this is ridiculously fast SDD with 3500MB/s read speeds and up to 3000MB/s write speed, making it equivalent or better than my Mac’s internal SSD.
I need to put it inside an enclosure; in Serbia we really do not have good choice there. I bought LC-Power LC-M2-C-NMVE USB3.1 Gen.2 enclosure for m.2 SSDs. This enclosure works and it’s dirt cheap (even here). Build quality is not really good, especially regarding small details – the screw that is supposed to keep the SSD attached to the enclosure could not fit into the screw hole it was supposed to connect to. Luckily I had few left-over screws from some old enclosures (I bought a lot of them over the years) which fit perfectly.
Other than this, enclosure is fine; it’s made of aluminum which helps to dissipate the heat. NVMe m.2 SSDs are known to run rather hot. This 1TB model had some thin thermal pads in its box which you place over the chips. With that it was mildly warm when placed in LC-Power enclosure and I expect it to be just fine over time.
I also ordered JEYI Thunderbolt 3 m.2 NVMe SSD Enclosure (LEIDIAN-3) from AliExpress; might move it there once it arrives or maybe buy another SSD to use as MBP backup.
Drivers package
Windows 10 does not have Macbook Pro drivers pre-installed. You need to prepare any small USB flash drive and put the drivers on it. To download them, run BootCamp Assistant on your Mac and choose this option to download all of it.

That’s all you need.
Installing Windows 10 to the external SSD
Now, for the main trick: installing Windows 10 to the external disk. I have an ISO image of Windows 10 and was looking for fastest way to install directly onto the USB-C disk.
Enter Hasleo’s WinToUSB. Since I had Win 10 VM running in VMWare Fusion, I could run it from there. Free version has serious limitations (neatly listed in the Comparison section on the linked web page) like not supporting Windows 10 Pro; you do need to purchase full version for that. I would say it’s really worth $30 since it makes the whole process a breeze.
The stuff I need does work in the Free edition; I followed the guide on their website and did an unattended installation of Windows 10 Home from an ISO image directly to the SSD. Note that for Mac and just about any modern PC/Mac in the last decade you need to choose GPT for UEFI as the partition format.
The whole process took about 10mins or so, no questions asked; it just did its thing. Really nicely made utility.
Now, set the external disk as Startup disk in macOS System Preferences and restart. Or choose at the cold-start, holding down Option key until the choice is presented to you.

First run
This first run will now go through initial Windows setup. As said previously, no drivers for Mac hardware is present and except the display nothing will work: touchpad, keyboard, bluetooth or wifi – nothing is recognized.
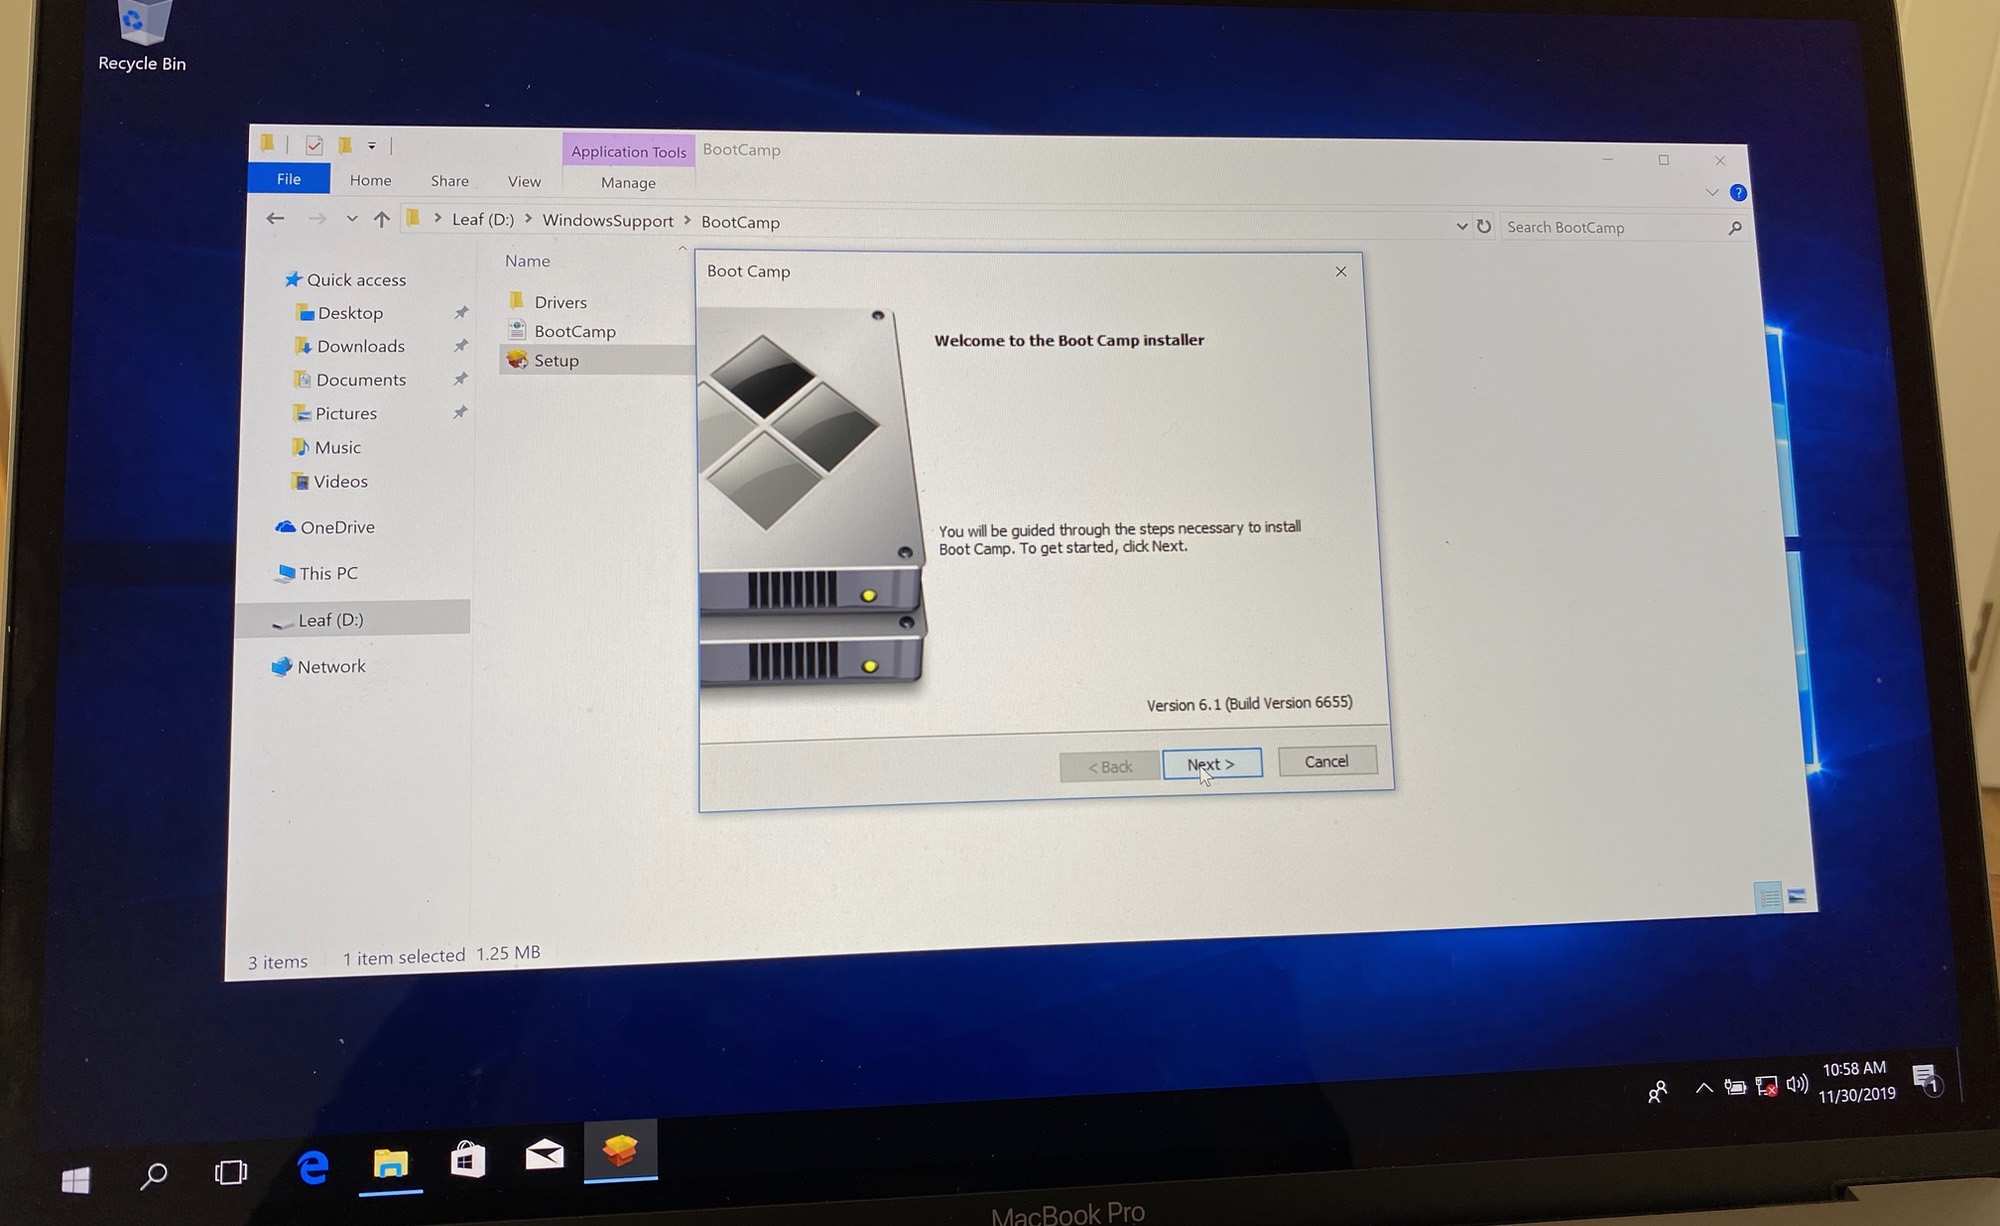
Thus you need to have some USB-based mouse and/or keyboard in order to go through setup screens. I had both, borrowed from the old 2014 Mac mini (which is now happily working as Plex file server). Once that’s done, put the USB stick with the bootcamp drivers and start the Setup from there:

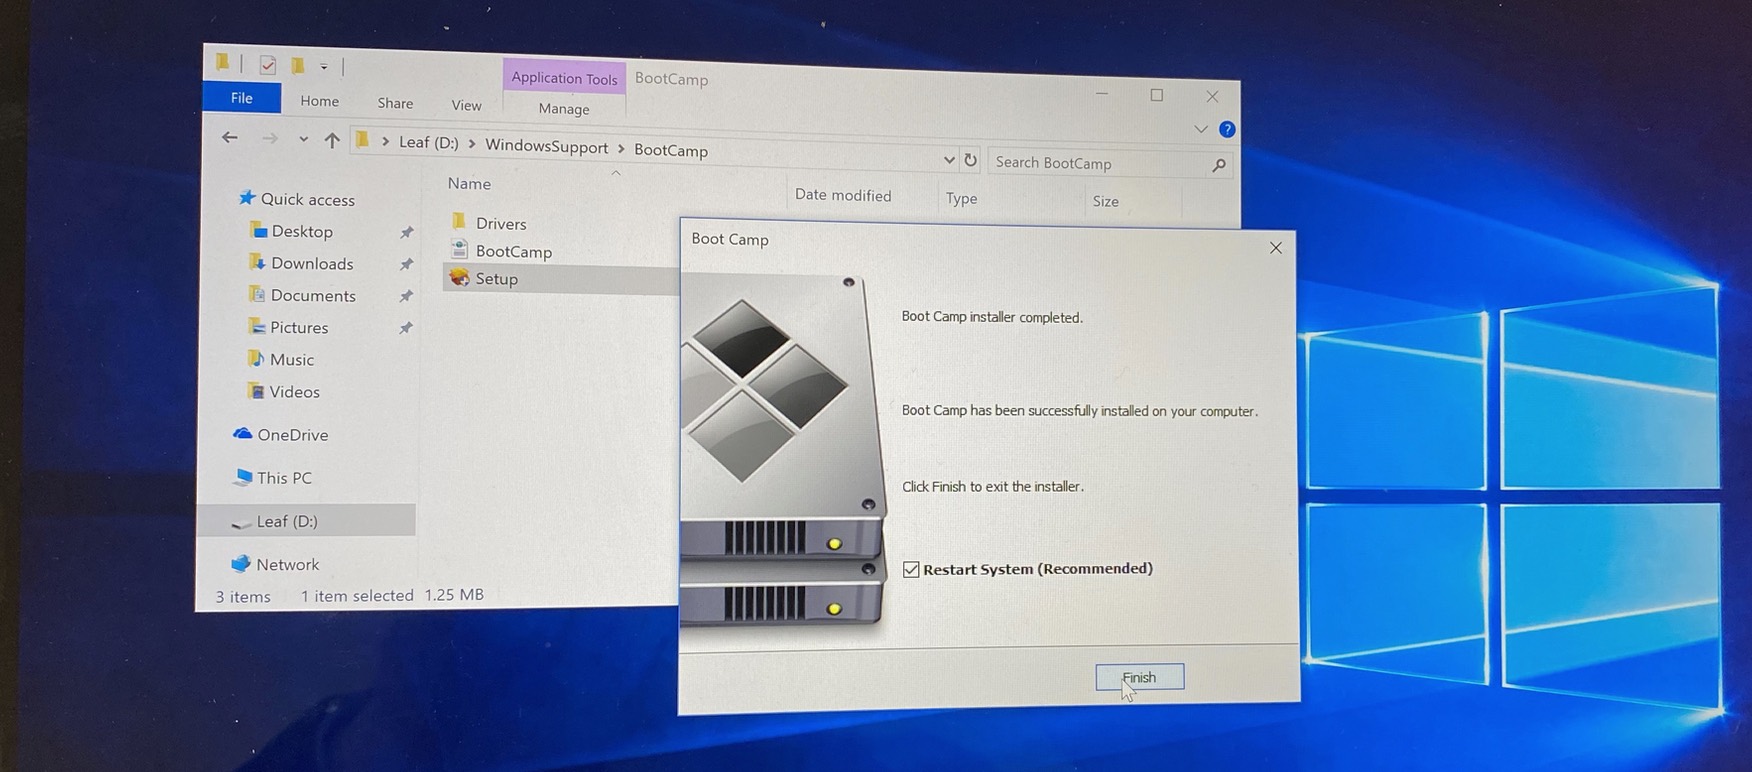
Once all is done, after all the flashing and confirmations, you just need to restart:

Ready to play
And with that — all done! All the hardware works and it works beautifully. I expected it to be a bit slow on USB-C but it seems that 10Gbps connection is more than enough to not choke the SSD on the other end. I’m not sure I even need the T3 for this use case, so far this is great.
I played few campaigns of AoE II:DE and it worked perfectly. The whole time, external SSD stayed mildly warm which is really encouraging.
❧❖❧
One teeny, tiny bit was not perfect: my top of the line 2016 MBP (with Radeon 460 GPU inside) is nowhere near the required hardware for enhanced graphics pack the game offers. The option is greyed-out. Which means…it’s time.
It’s time for my first PC desktop build after 15+ years of using only laptops. I spent the last 2-3 weeks watching bunch of YouTube videos to learn what’s good and proper now. Good gaming machines can easily take 1000$ today; it makes no sense to spend that much money just for this one game I want to play.
Thus this build will also need to work as Hackintosh and it would need to work perfectly as the Macbook Pro I’m using today. More on that, as it materializes.